3D Christmas Letter X: Avoid These Common Pitfalls Before You Download
The holiday season is officially here, and if you are looking to add a personal touch to your decorations or products, the 3D Christmas Letter X is becoming a popular choice for creators. It sounds simple enough—a festive letter "X" designed with depth—but the reality of bringing this digital file into the physical world often trips people up. Many buyers rush into downloading files without understanding the specific software requirements or the nuances of 3D layering, leading to frustrated evenings at the cutting machine and wasted materials.
Before you click that download button, it is crucial to understand exactly what you are getting and how to use it correctly. This isn't just about having a file; it is about ensuring your final project looks professional, cuts cleanly, and saves you time. Let's walk through the common mistakes people make when working with this design and how to ensure your next holiday craft is a success.
Understanding the Format: Why Your Software Matters
One of the most frequent errors I see is users purchasing a file because they like the design but not realizing which software can actually open it. The 3D Christmas Letter X comes in a zipped folder containing multiple formats: SVG, DXF, PNG, and EPS. Each serves a specific purpose, and using the wrong one will result in an error message or a cut that doesn't match your vision.
If you are a beginner using a Cricut machine, you will likely rely on Cricut Design Space. For this platform, the SVG format is your best friend. However, many users try to import the DXF file directly into Design Space and find it doesn't work as expected. The DXF file is specifically optimized for Silhouette Basic Edition, where the SVG might not be fully compatible depending on your subscription level. If you own Silhouette Studio, you have more flexibility, but the basic version requires the DXF to access advanced features without paying extra.
For those who prefer vector editing in programs like CorelDraw, Inkscape, or Adobe Illustrator, the EPS format is essential. Using an SVG in these programs can sometimes cause issues with layer grouping or color separation, especially when preparing for print-on-demand services. Always check your software capabilities before assuming a file will open perfectly.
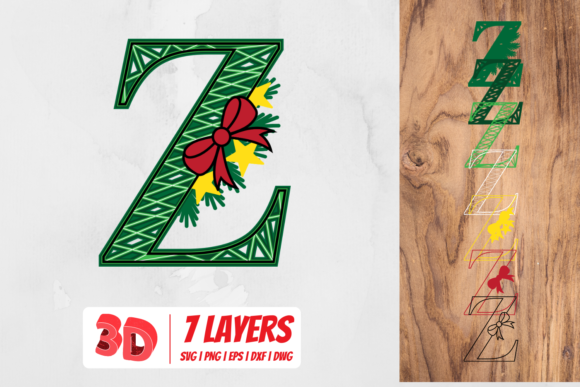
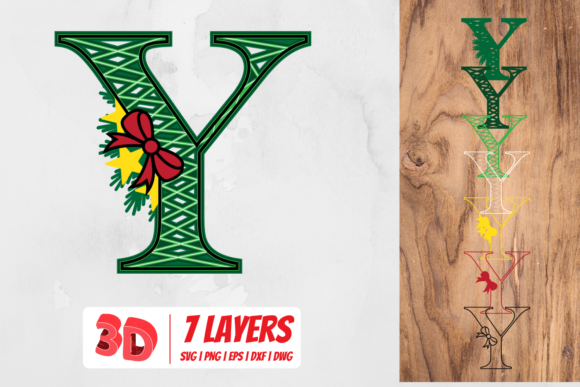
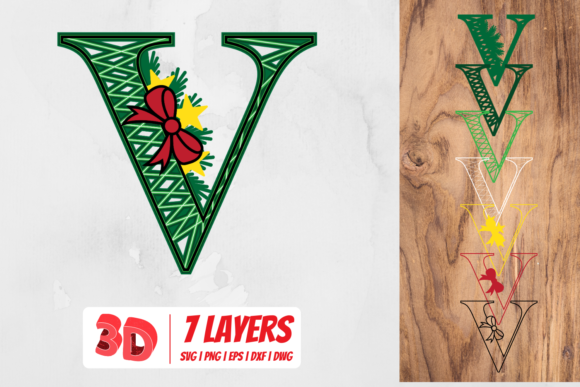
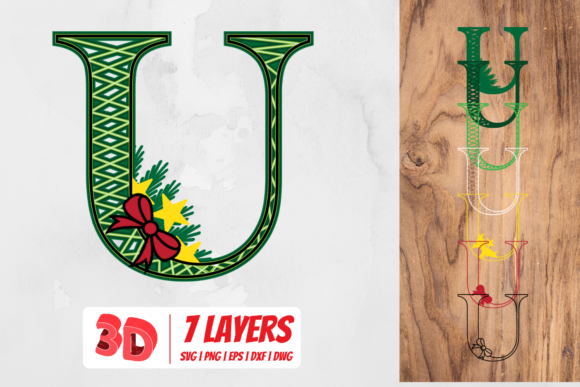
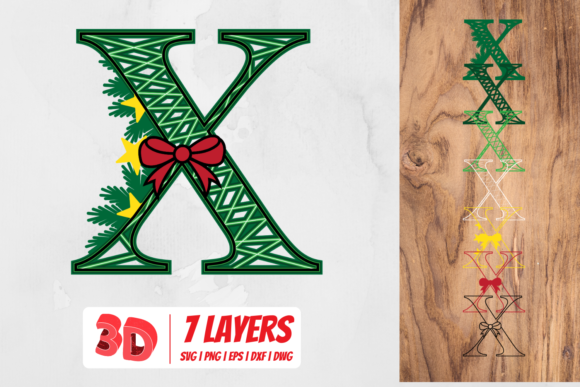
The Hidden Complexity of 3D Layering
A "3D" design does not mean the machine cuts three-dimensional shapes automatically. It means the file contains multiple layers that you must assemble by hand to create depth. A common mistake is treating the 3D Christmas Letter X as a single cut line. If you send all layers to your cutter at once without separating them, you will end up with a flat mess of overlapping paper or cardstock.
To achieve the true 3D effect, you need to:
- Separate the Layers: In your design software, ensure each part of the letter (the base, the middle layers, and the top highlight) is on its own distinct layer.
- Color Code: Assign different colors to each layer in your software. This helps you visually track which piece goes on top of the other during assembly.
- Check Cut Lines: Ensure that the lines meant to be cut are set to "Cut" and not "Score" or "Draw," unless you are intentionally adding fold lines.
When done correctly, you stack these pieces using foam adhesive dots or glue to pop the letter out from the background. Skipping the separation step is a quick way to ruin your project and waste expensive cardstock.
Material Selection: Don't Skimp on Quality
Even with perfect settings and the right file format, the 3D Christmas Letter X can fail if you choose the wrong material. Because this design relies on stacking layers, thin paper or low-quality vinyl will collapse under the weight of the upper layers. Beginners often try to save money by using standard printer paper, only to find the structure falls apart when they try to lift the top layer.
Instead, opt for medium-weight cardstock (around 65-80 lb) for the base and slightly heavier stock for the accent layers. If you are making a sign, consider using foam board or chipboard for a sturdier 3D effect. If you are creating a vinyl decal, remember that the transparent background PNG file is for photo printing, not for cutting machines. Using a PNG for cutting will result in jagged edges and poor adhesion.
Always test your material settings on a small scrap first. Different brands of cardstock react differently to blade pressure and speed. What works for one brand might tear another, leaving you with a ruined letter and a broken blade.
File Management and Organization
Once you have downloaded the zipped folder, do not immediately open it on your computer and start designing. The first mistake many people make is unzipping the files and losing track of which format belongs to which software. It is vital to organize your workspace before you begin.
- Create a dedicated folder on your desktop named "Christmas Project - Letter X".
- Move the SVG file into a subfolder labeled "Cricut".
- Place the DXF file in a subfolder labeled "Silhouette Basic".
- Put the EPS file in a folder for "Vector Editors".
- Keep the PNG separate for any image editing or printing needs.
This organization prevents accidental usage of the wrong file type. For instance, trying to use the high-resolution PNG (300 DPI) in a cutting program designed for vectors will force the software to trace the image, often resulting in thousands of unnecessary points that slow down your computer and produce messy cuts. Stick to the native vector formats for cutting.
Evaluating Your Final Result
After you have assembled your 3D Christmas Letter X, take a moment to inspect the alignment. A common issue is misalignment between the layers, which makes the 3D effect look distorted rather than artistic. To avoid this, use registration marks if your software supports them, or manually align the layers while they are still on the mat before cutting.
If you are selling products made with this design, ensure you have checked the commercial rights included with your download. Some licenses allow for limited sales, while others are strictly for personal use. Failing to verify this can lead to legal trouble for small business owners and freelancers.
By taking the time to understand the file formats, selecting the right materials, and carefully managing your layers, you transform a simple digital download into a stunning holiday decoration. The difference between a frustrating experience and a beautiful creation often comes down to preparation. Don't let a lack of knowledge ruin your holiday crafting plans; equip yourself with the right information, and watch your 3D Christmas Letter X come to life.
Whether you are a seasoned pro or just starting your crafting journey, paying attention to these details ensures your projects are efficient, cost-effective, and visually impressive. Happy holidays and happy crafting!