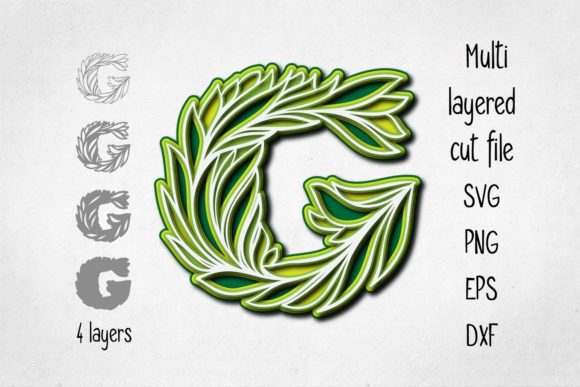
3D Layered Alphabet Letter G for Creative Projects
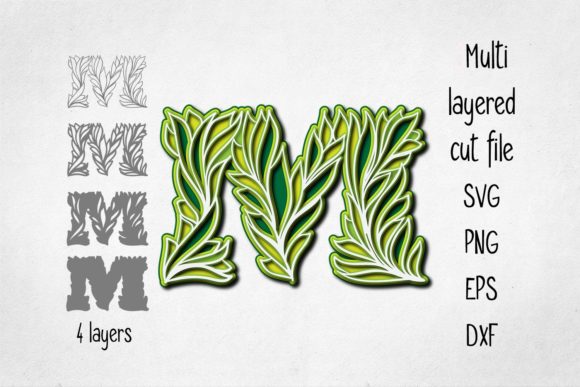
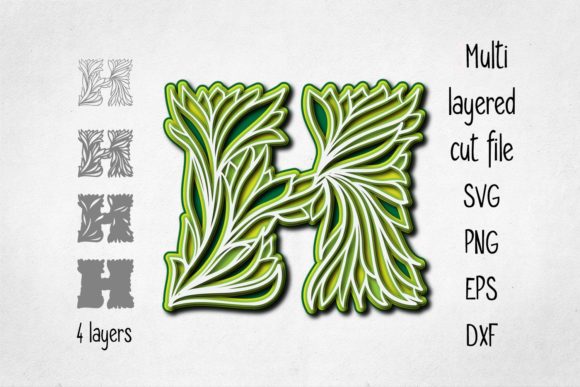
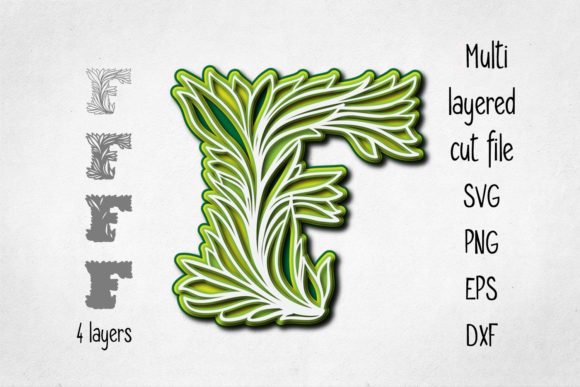
The 3D Layered Alphabet Letter G is more than just a decorative character; it is a versatile design element that transforms flat typography into a dynamic, tactile experience. By stacking multiple layers of material, this design creates depth, shadow, and dimension that simple cutouts simply cannot achieve. Whether you are an experienced crafter or a small business owner looking to add a unique touch to your product line, the layered approach offers a professional finish that elevates any project.
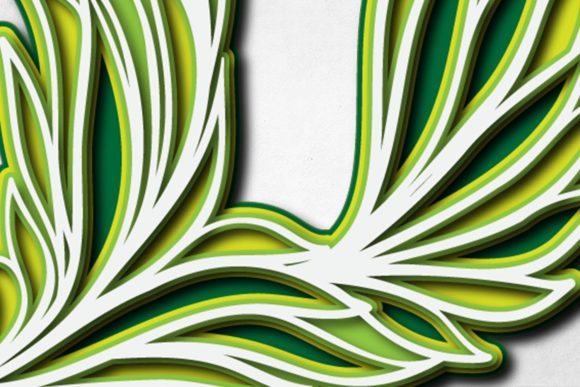
At its core, this design relies on the principle of separation. The letter G is constructed from several distinct parts that are stacked with space in between. This spacing allows light to play across the surfaces, creating natural shadows that emphasize the contours of the letter. The result is a visual pop that draws the eye immediately, making it an ideal focal point for wall decor, home accents, or branded merchandise.
Material Choices Define the Aesthetic
One of the most compelling aspects of the 3D Layered Alphabet Letter G is the flexibility regarding materials. The final look and feel depend entirely on what you choose to cut. For those seeking a soft, crafty aesthetic, card stock, heavy-weight paper, or vinyl work beautifully. When using these thinner materials, you must rely on spacers—small foam dots or strips of cardboard—to maintain the distance between layers. This technique produces a "flat" 3D effect where the color contrast between layers becomes the primary driver of interest.
However, if you desire a robust, architectural look, thicker materials are superior. Wood, plywood, MDF (Medium Density Fiberboard), and rigid plastics offer their own structural integrity. Because these materials are thick enough to stand on their own, they can often be used with minimal or no spacers, relying on the thickness of the wood itself to create the 3D profile. This approach yields a heavy, high-quality piece that feels substantial in the hand and commands attention on a shelf or mantel.
Consider the color combinations carefully. With paper or vinyl, you might use contrasting colors for each layer to make the letter G jump off the background. Alternatively, monochromatic schemes using different shades of the same hue can create a subtle, sophisticated gradient effect. If you are working with wood, staining the layers in varying depths of brown or leaving them natural while painting the background can create a striking rustic charm.
Scaling Your Design for Impact
This design file supports significant customization in terms of size. The base letter is over 8 inches (20 cm) tall, which makes it suitable for medium-sized wall art or tabletop displays. You have the freedom to resize the design to fit your specific needs, whether that means creating a massive installation for a storefront window or a smaller accent piece for a child's room.
When resizing, however, practical limitations apply. If you reduce the design too much, thin elements within the letter G may become fragile or difficult to assemble. The intricate curves of the letter require a certain minimum width to hold up structurally, especially when cutting through materials like vinyl or thin wood. Always test your scaled-down version on scrap material before committing to your final project. If the details become too fine to cut cleanly, consider simplifying the number of layers rather than shrinking the overall dimensions.
Creative Applications for Every Industry
The utility of the 3D Layered Alphabet Letter G extends far beyond simple decoration. Its adaptability makes it a valuable asset for various professionals and hobbyists alike.
- Home Decor Enthusiasts: Create a personalized gallery wall by arranging multiple letters to spell out names, initials, or inspirational words. The layered texture adds depth to a room without requiring heavy drilling or complex mounting systems.
- Small Business Owners: Use the letter as a logo variation for branding. A 3D layered initial can serve as a distinctive icon on packaging, business cards, or social media profiles, helping your brand stand out in a crowded market.
- Educators and Teachers: Turn the letter into an interactive learning tool. Students can paint the layers, assemble them, and learn about geometry, perspective, and spatial reasoning while engaging with the alphabet.
- Event Planners: Incorporate the letter into wedding backdrops, birthday party signage, or photo booth props. The 3D effect photographs exceptionally well, adding a professional polish to event imagery.
For marketers and bloggers, this design offers a tangible way to represent digital concepts. In a world dominated by flat screens, a physical object with depth provides a refreshing change of pace. It bridges the gap between digital design files and real-world application, allowing creators to showcase their skills in both realms.
Technical Specifications and File Compatibility
To ensure your creative vision comes to life, you will receive a comprehensive ZIP folder containing four distinct file formats: SVG, PNG, EPS, and DXF. Each format serves a specific purpose depending on your equipment and workflow.
The SVG (Scalable Vector Graphic) and EPS files are vector-based, meaning they can be resized infinitely without losing quality. These are essential for users operating laser cutters, CNC routers, or electronic cutting machines like Cricut or Silhouette. They allow for precise control over cut lines and material settings.
The DXF (Drawing Exchange Format) is widely compatible with CAD software and industrial cutting machines, making it a reliable choice for professional fabrication environments. Finally, the PNG file is a raster image, perfect for viewing designs on screen, printing on standard inkjet printers for paper crafts, or using as a reference guide during assembly.
Before starting your project, verify that your machine software is compatible with at least one of these formats. Most modern crafting software handles SVG and DXF natively, but older systems might require conversion. Ensuring compatibility early saves time and prevents frustration during the production phase.
Assembly Tips for a Professional Finish
Creating the 3D effect requires precision. Regardless of the material you choose, the alignment of the layers is critical. Misaligned layers can ruin the symmetry of the letter G, detracting from its visual appeal. Use a jig or a temporary adhesive to hold the layers in place while you glue them together permanently.
If you are using wood or MDF, sanding the edges before assembly can smooth out rough cuts and improve the final look. For paper projects, ensuring that the layers are perfectly centered before applying adhesive is key. You can use double-sided tape or foam adhesive pads to create consistent spacing. Consistency is what turns a simple craft into a piece of art.
Remember that the goal is balance. Too many layers can make the letter bulky and prone to tipping over, while too few might not provide enough depth. Experiment with different layer counts to find the sweet spot for your specific design and material thickness. Sometimes, fewer layers with better spacing yield a cleaner, more modern look than a dense stack of thin sheets.
Ultimately, the 3D Layered Alphabet Letter G is a tool for expression. It invites you to experiment with color, texture, and form. Whether you are gifting a personalized item to a loved one or creating a statement piece for your own space, the possibilities are limited only by your imagination. By understanding the technical requirements and embracing the creative potential, you can turn a simple digital file into a memorable, three-dimensional reality.